AUTUMN QUILT IS DONE
thankfully before Thanksgiving!
I have switched out the decor of the living room to reflect the Fall season
The vase from by the front door went from flowers to more fall colors

I love the dried orange Chinese Lanterns!
and
all the pillows get a Fall makeover
I made the blue one with left over half square triangles and the yellow and orange fabrics re in the quilt top too.

But my favorite pillow is a foundation pieced leaf and framed out with brown batik fabric
It's so sweet!

From a trip to the Grand Canyon I collected "fabric postcards" from a gift shop. I sewed them into a pillow as a thank you for my husband who planned the whole amazing trip. Normally it lives in the playroom, I moved it to the living room, it looks Fall and the trip was in the Fall.

Why do I swap out my living room to reflect the season?
My first quilt, that's why!
My first big quilt! It was a block of the month kit - every month a package with fabric and pattern came in the mail. It started off easy, progressing to hard in the end.

Here are a couple of easy ones
I hand quilted each block! My daughter was getting weekly bee sting allergy shots,

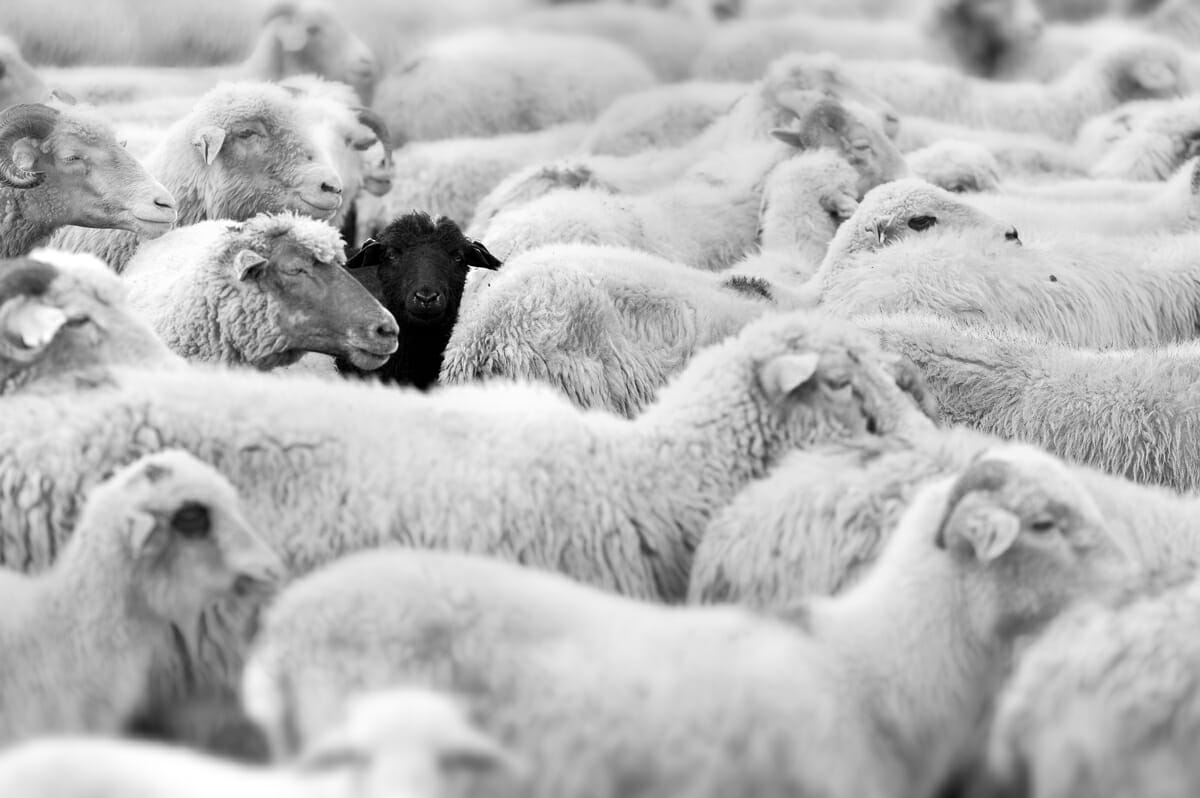
and you need to sit and wait for thirty minutes to ensure you don't leave and then have a reaction - so I hand quilted each block while we waited. I was also a part of a knitting group. I called myself the black sheep because I don't knit!

Man - we are a cute group!
I had quilted instead of knitting!

Anyway, I was very proud of this quilt. My husband's passion is gardening - so I knew he wouldn't mind my request to hang it up in the living room for a while.
What I wasn't expecting was my husband to hang a huge wooden curtain rod! So spring passed, then fall, and Christmas came and went - all with a spring/summer quilt in the living room! So now I switch the quilt out each season - with pillows and decor!

Now that Autumn is in the house - time to try one more recipe!
COOKBOOK CHALLENGE!
I tried a Martha Stewart Living Magazine recipe for Thanksgiving 2007! It is a Pressed Pear Tart

I am glad I finally tried it - it's delicious!
My one problem with this recipe is that the dough is super sticky! It was almost impossible to get it from my fingers

I advise taking your rings off before you start!
The recipe says to use a 14 inch rectangle baking pan. I don't own one - does anyone? I just used a deep dish 10 inch pie plate.
And it turned out just fine. Everyone loved it so in the new book it goes!
Pressed Pear Tart from Martha Stewart's Living Magazine - November 2007
1/2 cup (1 stick) unsalted butter, plus more for the pan, at room temperature
1 cup all purpose flour, plus more for your fingers (I'll say!)
1/4 tsp baking powder
1/2 cup sugar, plus 1 1/2 Tbsp
1 large egg
2 - 3 Bosc pears -- peeled, halved, cored
1 1/2 tsp ground cinnamon
1/4 cup apricot jam
1 Tbsp fresh lemon juice
Whipped Cream (optional - I don't think we needed it for a weeknight treat)
Heat oven to 350 degrees
Butter a 14 inch rectangular tart pan and set aside
Combine the flour and baking powder in a medium bowl and set aside
Cream the butter and 1/2 cup sugar in a large bowl with a mixer on high speed. Lower the speed to low or medium and add the egg - mix until well incorporated. Gradually add the flour mixture until fully incorporated. The dough will be very soft (and sticky. very sticky!)
Push the dough into the pan with floured fingers to form an even crust. Arrange the pear halves, tip to bottom (or round and round in a pie plate!) cut side down. Sprinkle with the cinnamon and remaining sugar.
Bake until crust is golden brown, about 45 minutes; let cool.
Heat the apricot jam and lemon juice in a small saucepan over medium-low heat, mixing well. Remove from heat and bruch gently over the entire tart.
Really fluffy and tasty!
Not bad for breakfast too!
Pam
 COOKBOOK CHALLENGE - TEENAGER FOOD!
 This is adds another layer of stress to the entire process because she needs to add a portfolio of her work to each application.
  spread out on a foil lined and bake in a 350 degree oven for 18-22 minutes, tossing after 10 - 15 minutes.


 and you need to sit and wait for thirty minutes to ensure you don't leave and then have a reaction - so I hand quilted each block while we waited. I was also a part of a knitting group. I called myself the black sheep because I don't knit!


